Mastering the Basics of Roughing in Plumbing
Discover essential tips for plumbing roughing in, covering layout planning, code requirements, and common mistakes to avoid for a flawless plumbing system.
Roughing in is the behind-the-scenes work that makes or breaks a plumbing system. It's where you map out pipe layout, placement, and alignment before walls go up and finishes get installed. An excellent plumbing crew knows that getting this phase right prevents headaches like leaks, clogs, and code violations later. This guide covers the tools you'll need, code requirements, layout planning, pipe installation, and mistakes to watch out for. By the end, you'll have a solid grasp of what roughing in actually involves and why it matters.
Importance of Roughing in Plumbing
Roughing in sets the groundwork for everything else in a plumbing project. This is when you determine where the pipes go, how they're sized, and the angles at which they sit. Get it wrong, and you're looking at future problems like slow drains, leaks, or failed inspections. Get it right, and the rest of the installation runs smoothly. Proper roughing in also saves time and money down the road since you're not ripping out drywall to fix mistakes. Think of it as building the skeleton of your plumbing system; everything else hangs on it.
Tools Needed for Roughing In
You can't rough in plumbing without the right gear. A pipe cutter gives you clean, precise cuts, while a reamer and deburring tool smooth out rough edges so connections seal properly. A tape measure handles accurate length measurements, and a level keeps your pipes aligned correctly. Adjustable wrenches tighten fittings securely, and thread seal tape or pipe compound prevents leaks at threaded joints. For tougher cuts through studs or joists, a reciprocating saw comes in handy. Round out your toolkit with a marking pencil, safety glasses, and work gloves. Having everything ready before you start makes the whole process faster and less frustrating.
Understanding Plumbing Codes
Plumbing codes exist to keep systems safe and functional. These rules cover the materials you can use, minimum pipe sizes, where fixtures should be placed, and how venting needs to be set up. Knowing the code helps you avoid costly mistakes and failed inspections. Local authorities update these regulations periodically, so staying current matters. The following code isn't just about passing inspection; it protects the people using the space and keeps the system running efficiently for years.
Planning the Layout
Before you cut a single pipe, you need a solid plan. Start by reviewing the building's structure and determining where fixtures such as sinks, toilets, and water heaters should be located. Accessibility and function should drive those decisions. Sketch your main and branch supply lines, ensuring everything follows code. Factor in pipe sizes, drainage slopes, and venting requirements as you map things out. A detailed layout upfront means fewer surprises during installation and a system that actually performs the way it should.
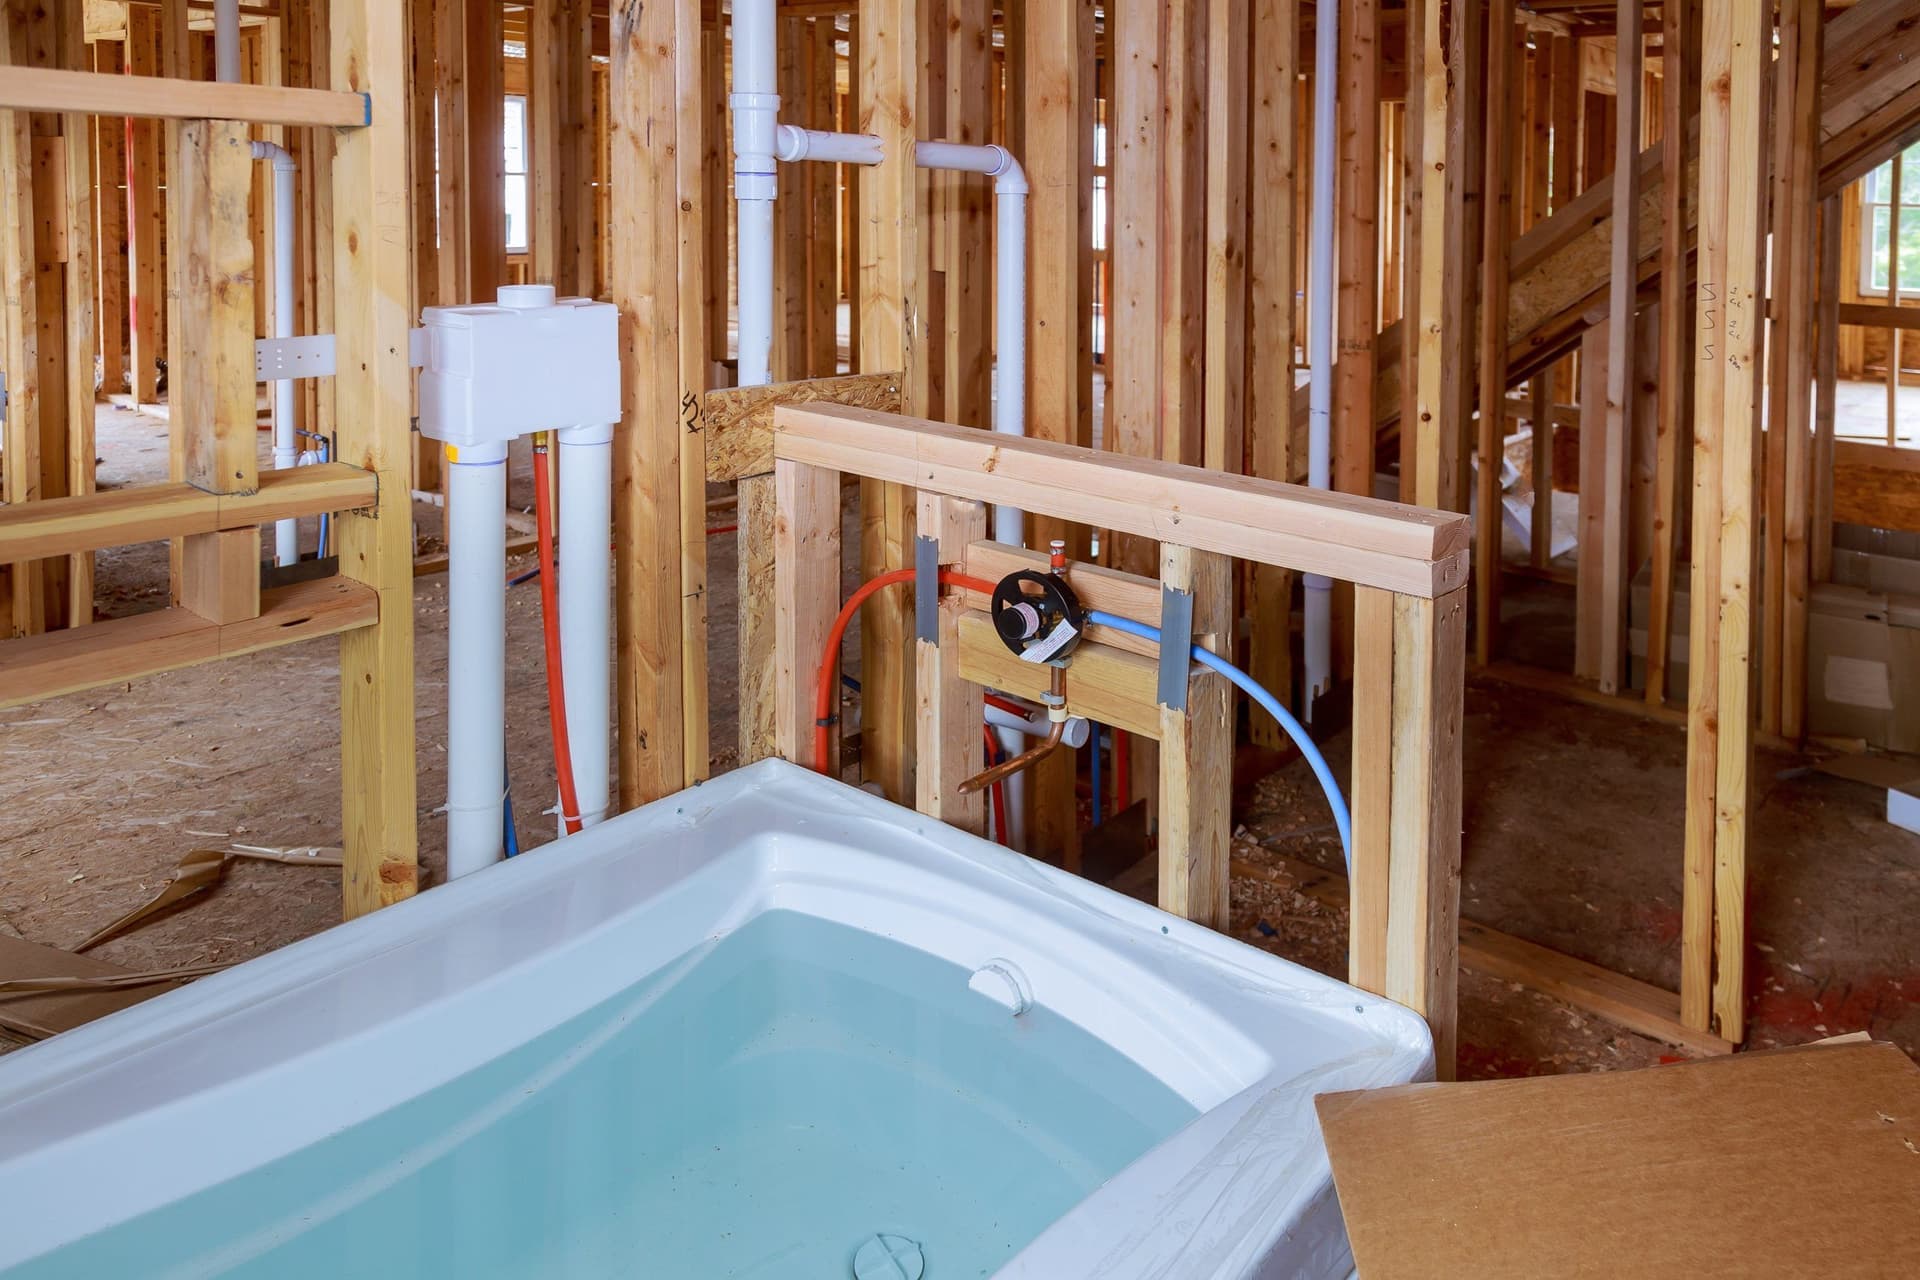
Installing Pipes and Drains
Pipe material selection depends on your specific situation. PVC, copper, and PEX each have their strengths. PVC works great for drains, copper handles hot water well, and PEX offers flexibility for tight spaces. Always follow local building codes and manufacturer specs during installation. Pay close attention to drain slopes so water flows where it should, rather than pooling or backing up. Use fittings like elbows and tees to route pipes around obstacles. Anchor and support pipes properly to prevent sagging over time, which can lead to leaks and other issues down the line.
Common Mistakes to Avoid
Steering clear of typical errors saves you from expensive fixes later. Here are three big ones to watch for:
Improper Sloping: Drain pipes need the right pitch to move water and waste. Too flat means clogs; too steep means liquids outrun solids.
Incorrect Pipe Sizing: Using the wrong size messes with water pressure and flow. Follow code requirements for each fixture type.
Neglecting Ventilation: Vent pipes prevent airlocks and let drains work properly. Skipping or undersizing vents causes slow drains and gurgling sounds.
Related Topics: