How to Properly Install Plumbing for Your Bathroom Sink
Installing plumbing for a bathroom sink is a manageable DIY project. This guide covers tools, connections, and testing for leaks for a successful install.
Installing plumbing for a bathroom sink might seem intimidating, but it's a manageable DIY project with the right approach. This guide breaks down each step so you can tackle the job yourself or know what to expect when hiring a reliable plumbing team. You'll learn what tools and materials to gather, how to prep your workspace, and how to connect everything properly. We'll also cover how to test your work and avoid common mistakes. By the end, you'll have a fully functioning sink without the guesswork.
Tools and Materials Needed
Gather your tools and materials before you start so you don't have to run to the hardware store mid-project. For tools, you'll need an adjustable wrench, a pipe wrench, a hacksaw, a tubing cutter, and a basin wrench. A tape measure, plumber's putty, Teflon tape, and a bucket for catching water are also must-haves. For materials, pick up PVC pipes, a P-trap, extension tubes, supply tubes, and a sink tailpiece. Double-check that everything matches the size and type your sink requires. Wrong sizing leads to leaks and headaches down the road.
Shut Off Water Supply
Turn off the water supply to the sink area before touching anything else. This keeps the job safe and prevents any surprise flooding. Here's how to do it:
Find the main water shut-off valve in your home.
Turn the valve clockwise until it stops.
Open the sink faucet to drain leftover water from the pipes.
Keep a bucket or towels nearby to catch any drips.
Make sure the water is completely off before moving forward.
Skipping this step can turn a simple install into a wet mess, so take the extra minute to confirm everything is shut down.
Install Drain Assembly
Grab your drain assembly kit, plumber's putty, a wrench, and possibly a screwdriver. Roll some plumber's putty into a rope and press it around the underside of the drain flange. Push the flange into the sink's drain hole and press firmly to create a watertight seal. From underneath the sink, slide the rubber gasket and paper gasket onto the flange threads, then hand-tighten the lock nut. Use your wrench to snug it up. Don't overtighten, or you'll crack the sink. Finish by attaching the pivot rod to the lift rod for the stopper mechanism.
Connect Supply Lines
Before connecting anything, confirm the water supply is still off. Then follow these steps:
Attach the hot and cold water supply lines to the matching faucet connections.
Hand-tighten the connections first to avoid stripping the threads.
Wrap Teflon tape around the threaded pipe ends to prevent leaks.
Use a wrench to give each connection a final snug turn.
Turn the water back on and watch closely for any drips.
If you spot a leak, don't panic, just tighten the fitting a bit more or re-wrap the threads with fresh tape.
Test for Leaks
Testing is the step that separates a good install from a future headache. Start by double-checking that all connections are tight. Turn on the water supply and visually inspect every joint, fitting, and connection point. Wipe each spot dry with a cloth first so you can easily spot new moisture. Check under the sink for any pooling water or slow drips. Let the water run for a few minutes to catch sneaky slow leaks. If something's dripping, tighten it or replace the faulty part. Keep testing until everything stays bone dry.
Secure and Finish Installation
Once your connections pass the leak test, it's time to button everything up:
Tighten all fittings one more time with a wrench.
Wrap plumber's tape on any threaded connections you may have missed.
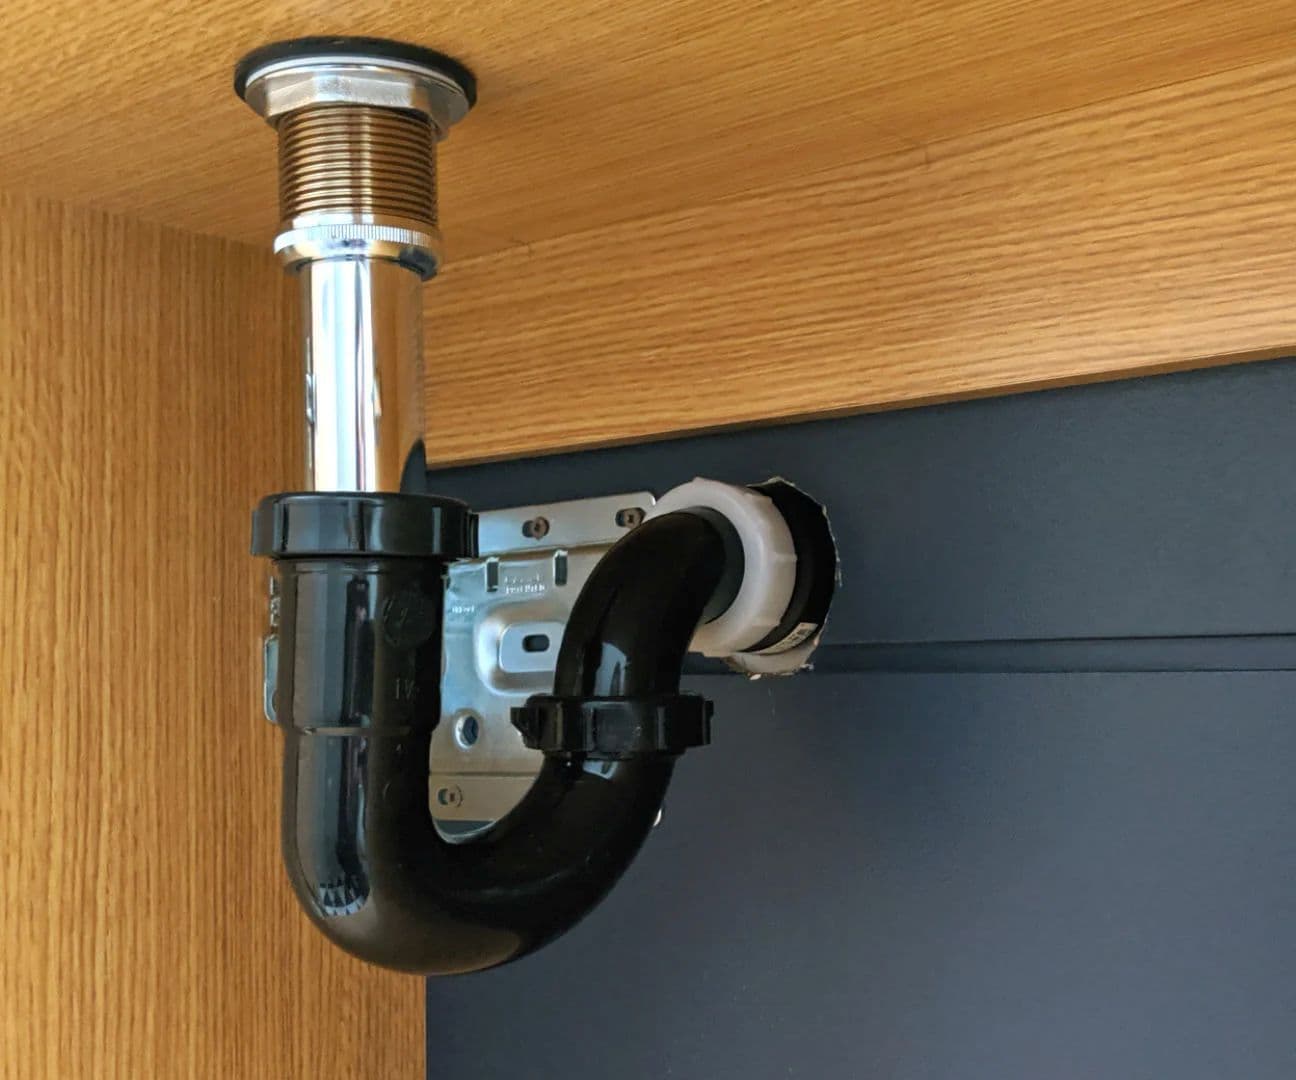
Connect the P-trap to the drain and tailpiece. This catches debris and blocks sewer odors.
Turn the water on slowly and do one final leak check.
Run a bead of silicone caulk around the sink's edge where it meets the countertop.
The caulk gives you a clean, finished look and stops water from seeping underneath. Let it cure for 24 hours before heavy use, and you're good to go.
Related Topics: